Your PC is made up of many devices that interact with each other. Although in most cases updating your drivers is the solution to CD/DVD problems, there may be PC settings (or other applications) interfering with your CD/DVD device.
The following steps outline what you need to do to delete filters in your Windows registry, which may be preventing you from using your CD/DVD device. Steps may vary slightly depending on the Windows OS you use. ALWAYS back up your Windows Registry before making any changes.
- From the Windows Start menu, click Run.
- Type regedit (1) in the space provided and then click OK (2).
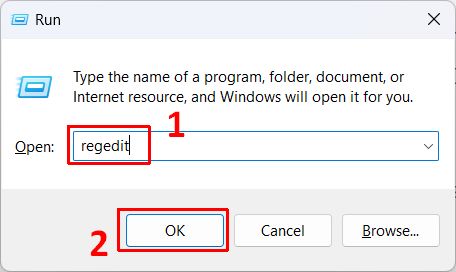
Note: If the UAC window shows up, click Yes to continue. - Go to this folder: HKEY_LOCAL_MACHINE\SYSTEM\CurrentControlSet\Control\Class\{4D36E965-E325-11CE-BFC1-08002BE10318}
- On the right pane, right-click UpperFilters.
Note: You may also see an UpperFilters.bak registry entry. You do not have to remove that entry. Remove UpperFilters only.
If you do not see the UpperFilters registry entry, you still might have to remove the LowerFilters registry entry. To do this, go to Step 7 below.
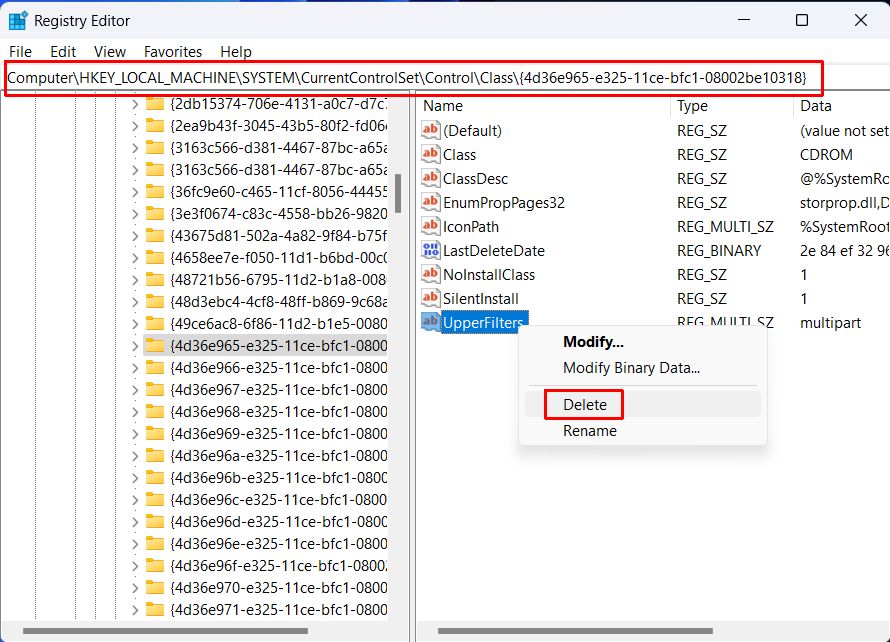
- In the context menu, click Delete.
- If prompted to confirm the deletion, click Yes.
- On the right pane, right-click LowerFilters.
- In the context menu, click Delete.
- If asked to confirm the deletion, click Yes.
- Exit the Registry Editor.
- Restart your PC.


After the PC restarts, your CD/DVD drive should be recognized and a driver letter should be assign to the drive.
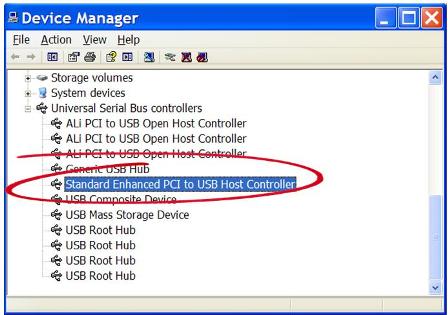
If you are using an external CD/DVD drive that is connected through a USB port, also check your USB ports and drivers. Connecting to a different USB port can sometimes be sufficient.