
By default the latest Windows versions automatically install new updates, including driver updates. Updating your PC software in general is a good idea to ensure maximum security and performance. But there are cases where driver updates are not desirable, and you need to disable automatic driver updates.
Some hardware only operates with a specific driver version. Other hardware devices need a specific driver version to ensure all functionality is available. You wouldn’t want a driver update to suddenly remove features, or introduce device problems.
Steps to disable driver updates
If you find yourself in a situation where you want to decide which driver updates to install and which ones not, you can disable automatic driver updates in Windows.
- To do this, open the Control Panel and go to System and Security.
- Next, select the System option, and click Advanced system settings.
Tip: type “sysdm.cpl” in the Run or Search field in Windows, followed by the Enter key to open the System Properties directly.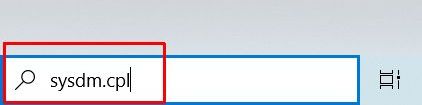
- In the System Properties windows, you need to select the Hardware tab.
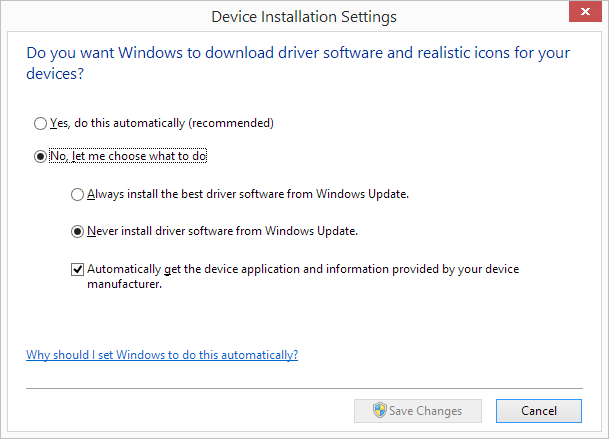
- Now click the Device Installation Settings button.

- This will bring up the Device Installations Settings window. Here you will need to change the option from Yes, do this automatically to No, let me choose what to do. And then select the option Never install driver Software from Windows Update. Next, click the Save Changes button.


After this Windows will still install regular software updates through Windows Update. But the drivers on you system are no longer automatically updated.
Disable automatic driver updates in Windows 10
For Windows 10 the steps are almost identical.
- Start the control panel by typing “control panel” in the Seach box.
- Click the Control Panel app in the search result.
- In the Control Panel window, click the System icon.
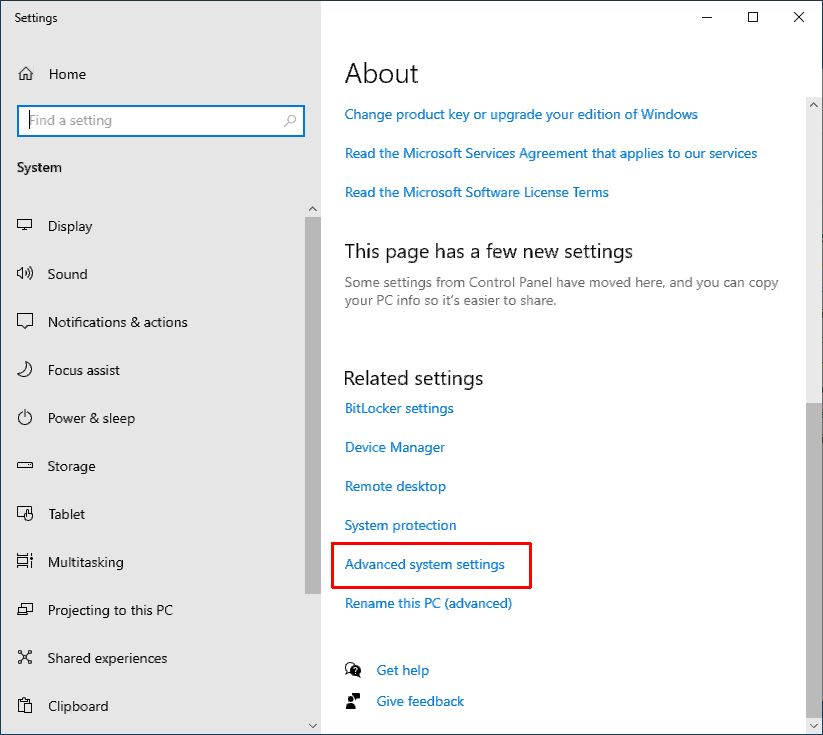
- In the Settings window, scroll down to the Related settings, and click Advanced system settings.
- From here on the steps are the same as step 3 above. The only difference is the Device installation settings window looks a little different.


Disable automatic driver updates in Windows 11
The instructions for Windows 11 are almost identical to the instructions for Windows 10. Here are the quickest steps to disable the automatic driver updates.
- In the Search box on the taskbar type “change device installation settings“.
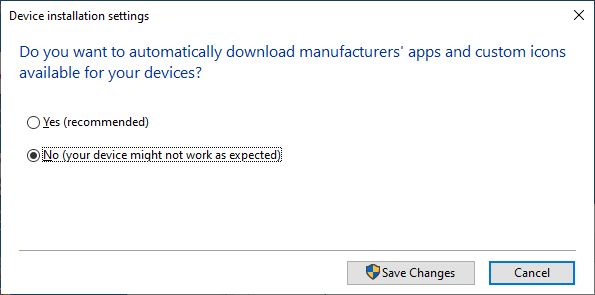
- In the search results, click Change device installation settings to bring up the Control panel dialog for Device installation settings identical to step 5 in the previous section.
- Select the No (your device might not work as expected) option and click the Save Changes button.
Hide specific driver updates in Windows 11
Perhaps disabling all automatic driver updates in Windows 11 is not what you want. If only one specific driver update is causing a problem on your system, you would rather just not install that.
This can also be achieved. Ignoring a driver update (or any update for that matter) is possible in Windows 11 by hiding the update.
Here are the steps to do that:
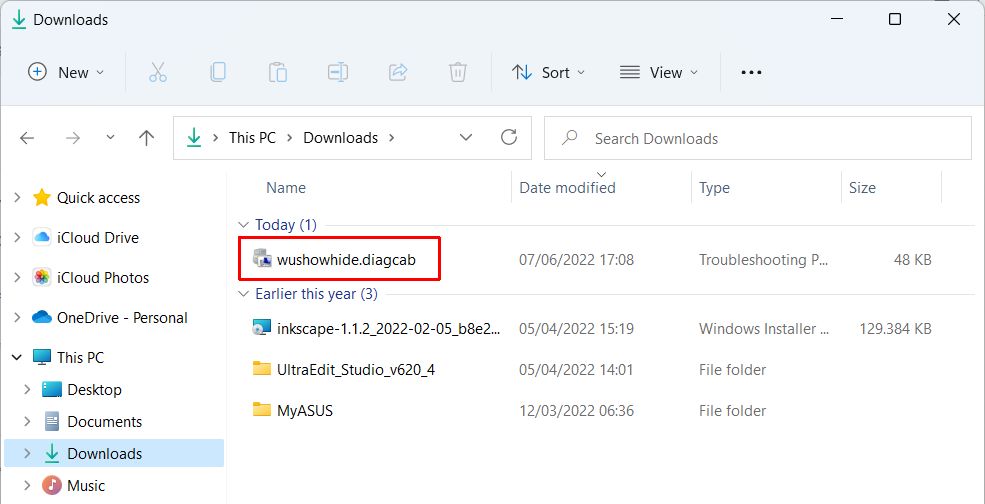
- Download the wushowhide.diagcab file from the Microsoft download page.
- After the download completes, execute the file by double-clicking it in the File Explorer.
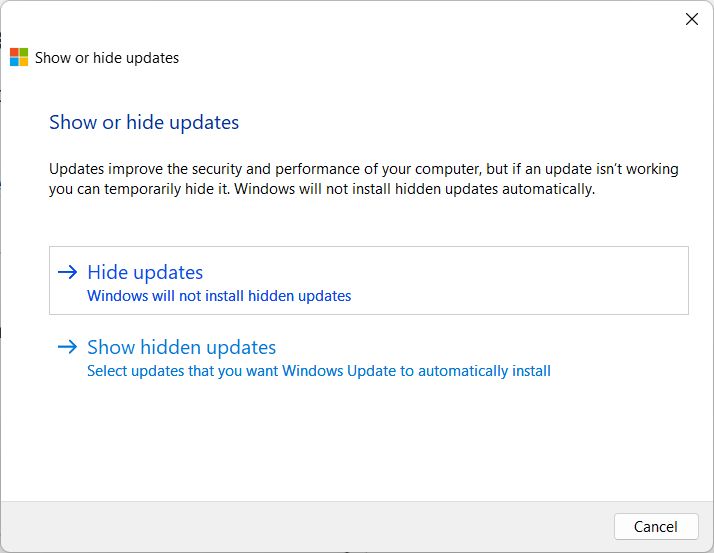
- In the Show or hide updates window, click the Next button.
- Next, select the option Hide updates.
- Once the Hide updates option shows with the list of updates, select the update to hide and click Next again.
(In the example screenshot we have selected the Intel wireless driver update.)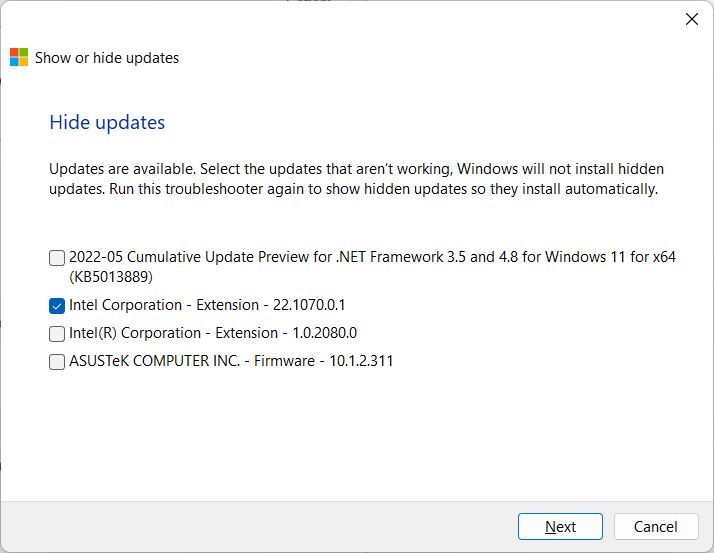
- Once complete, the window wil show Troubleshooting completed and show the update as Fixed. The update will now be ignored in the Windows Update process.
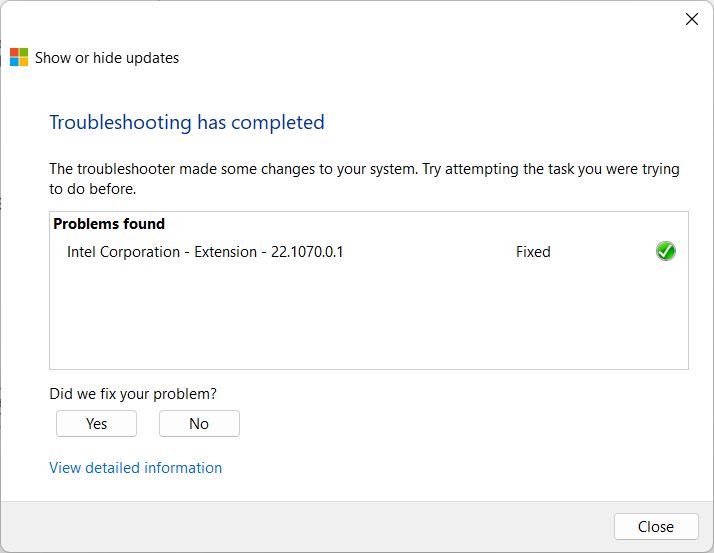
- Click the Close button to finish and close the window.


Note: If you want to enable the update again, simply run the wushowhide.diagcab file again. This time, select the Show hidden updates option to re-enable the hidden update.
Keep in mind that if a newer update for the driver becomes available, that will not automatically be ignored as well. These steps pertain to the specific update selected only.
Of course we recommend checking and updating your drivers with our DriverFinder software. That way you can decide which updates to install and which not!