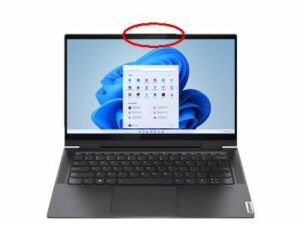
Using Windows 11 on a laptop can be great, assuming everything is working. And if you want to use your Lenovo laptop for video chat or video conferencing, you need the audio features and camera to be working. To make sure the Lenovo Integrated Camera is working, the right Lenovo camera driver needs to be installed.
Download and install the Lenovo camera driver
Since Lenovo uses different camera components in its laptops (Sonix, Realtek, and others), it is important to get the right driver for your device. The first place to look for the right Lenovo camera driver is the Lenovo support website.
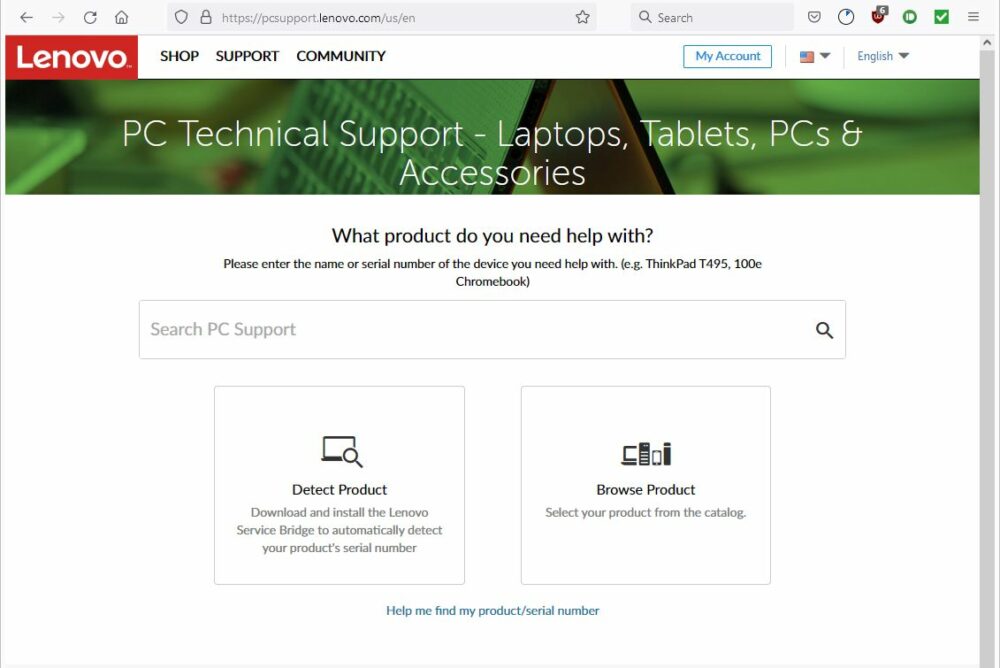
- Open an Internet browser and visit the Lenovo support website.
- The website will automatically direct you to your local support site (region and language). If not, make sure to disable any VPN software you might be using.
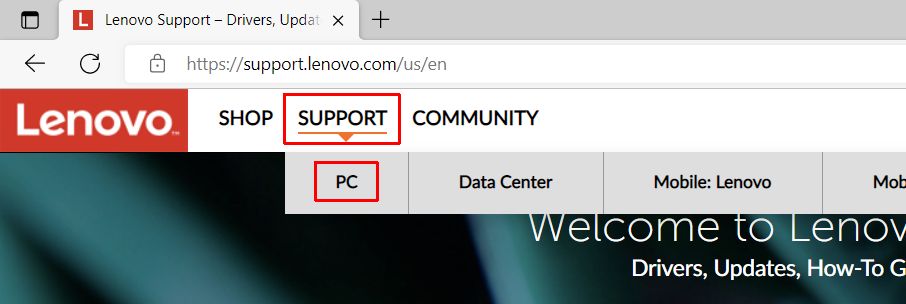
- On the webpage, click the SUPPORT menu and then click PC.
- On the next page, enter the serial number or the model name of your Lenovo laptop and press Enter.
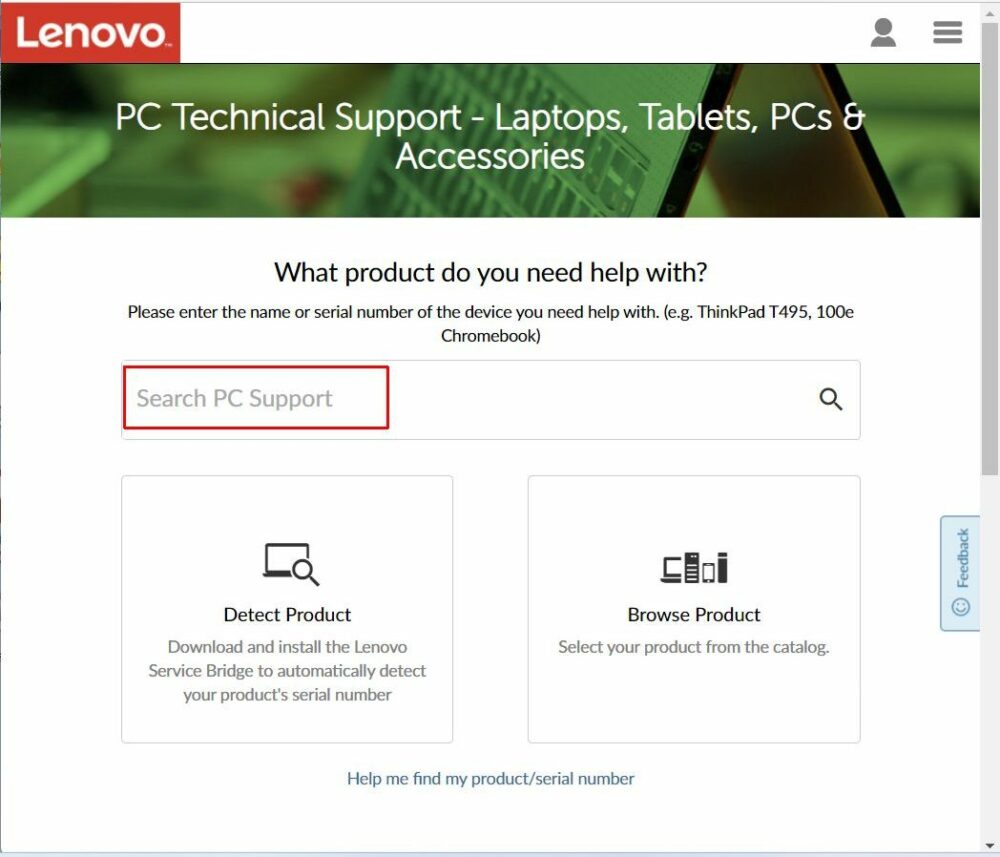
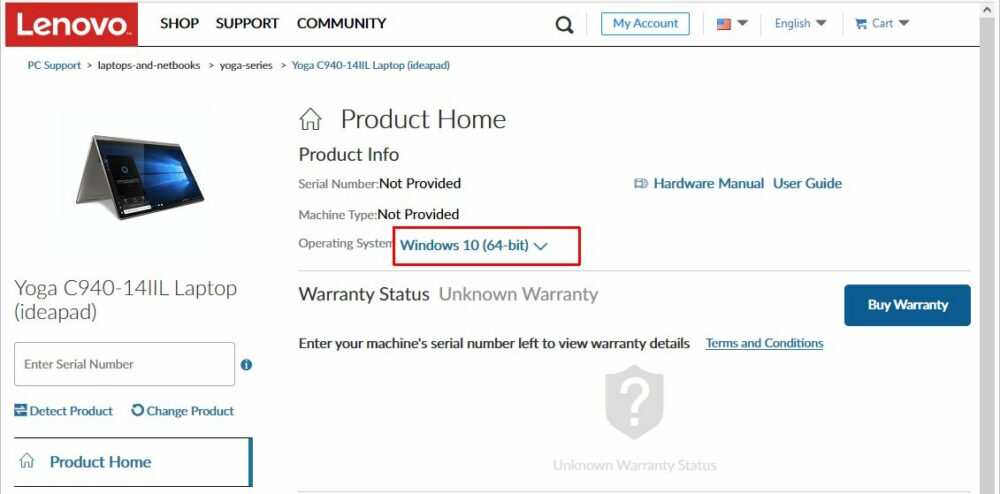
Tip: If you do not know either, you can use the Browse Product option, although that will also require you to know the model name/number. - Once you selected your product, you will see the Product Home page for your Lenovo laptop. Click the View Product Details link to show the extra options.
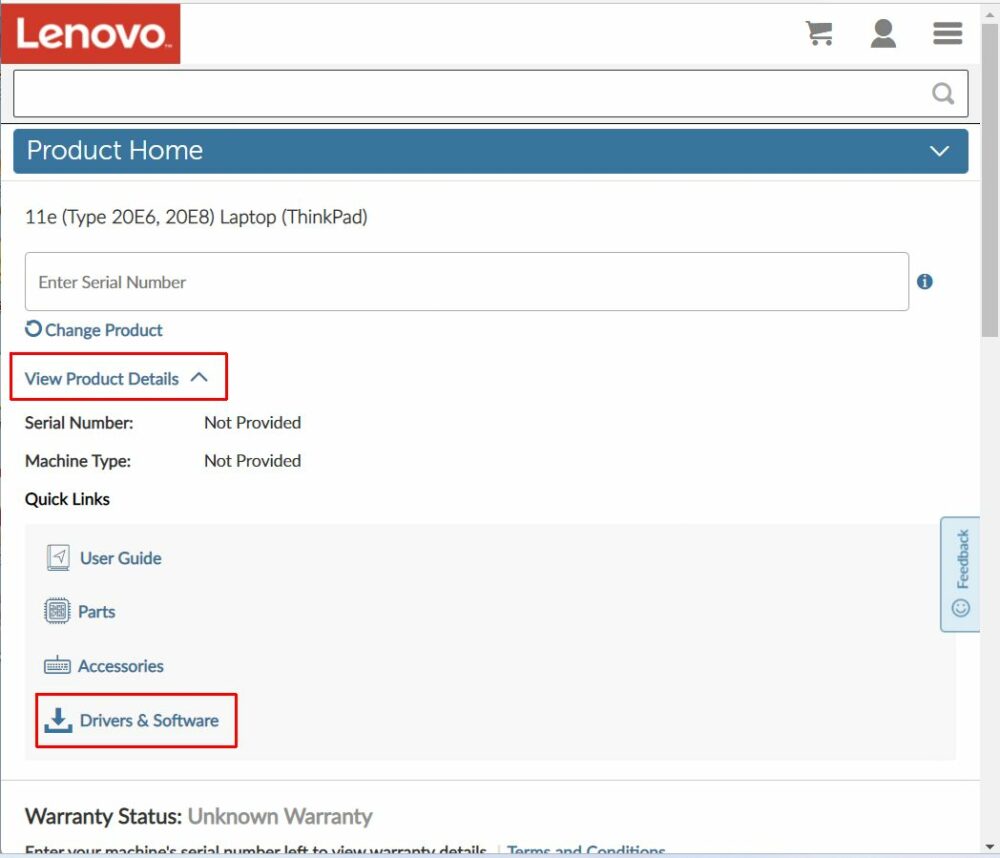
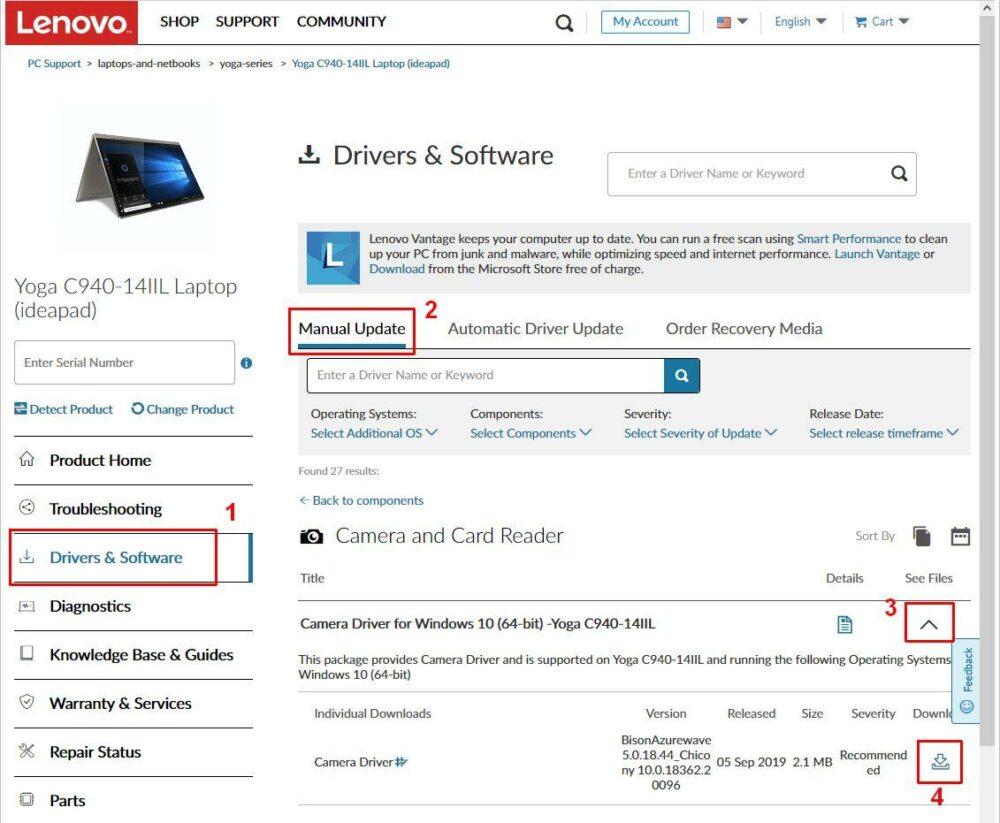
- Next, click the Drivers and Software link.
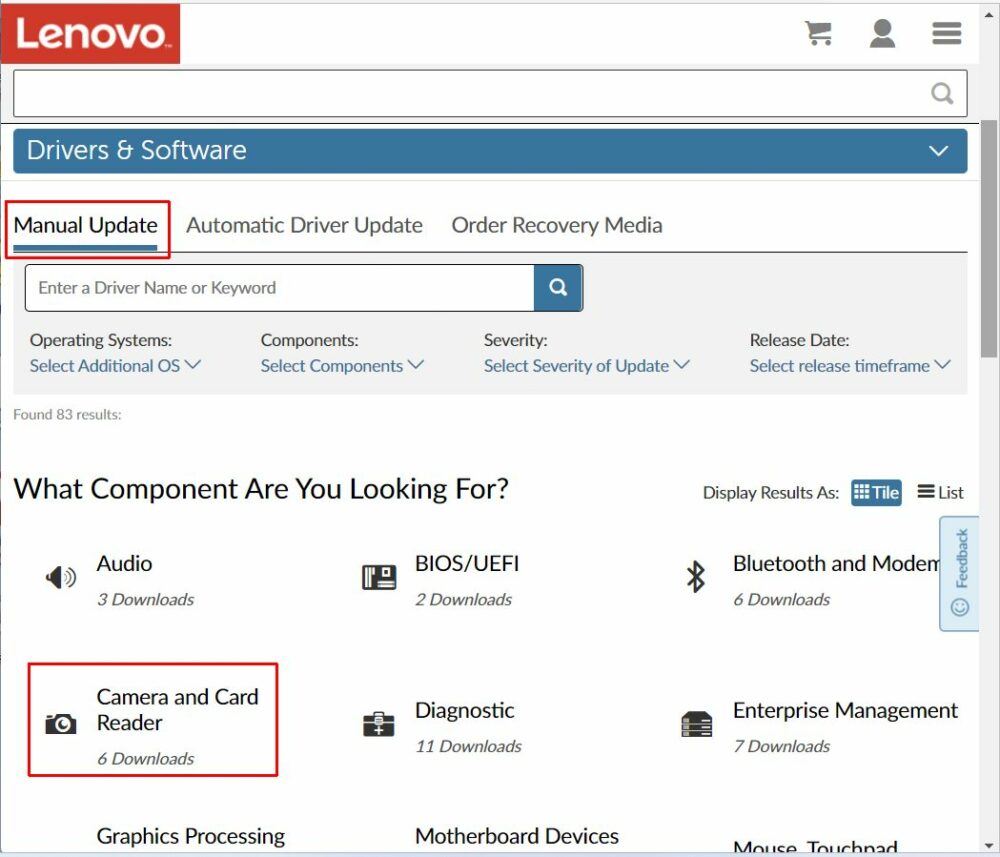
- On the Drivers & Software page, select the option Manual Update.
- Then click the option Camera and Card Reader.
- On the Camera and Card Reader page, click the downward pointing arrow to the right of the first entry of the Integrated Camera Driver for your Windows version.
Note: If no Windows 11 driver is available, try the Windows 10 driver since they are compatible. The entries in the list are sorted by date, newest on top, so you want the first entry for the newest Lenovo camera driver.
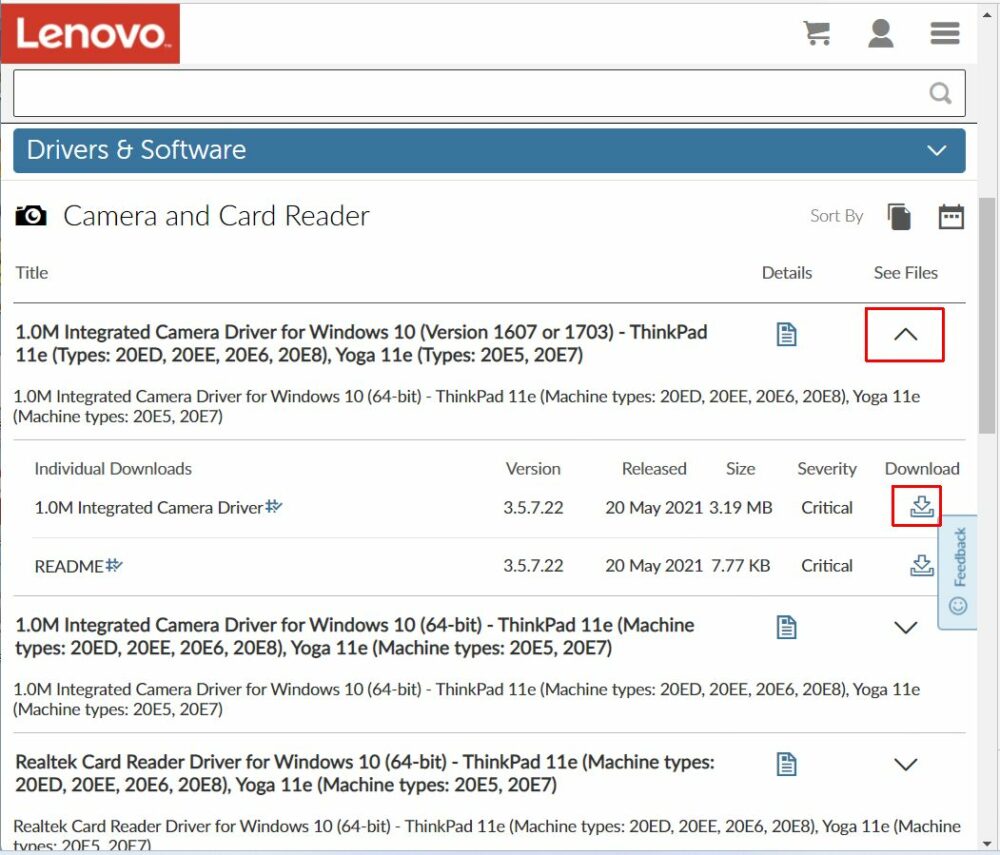
- Now click the download icon next to the Integrated Camera driver to start the download.
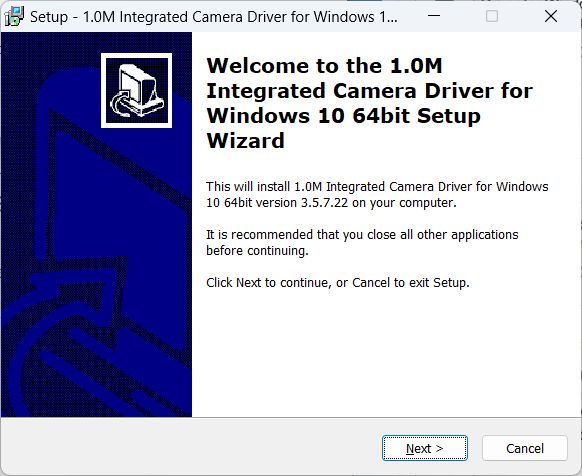
- Once the download completes, run the downloaded file to install the driver and follow the on-screen instructions.
Update the Lenovo Camera Driver from the Device Manager
If a camera device is already recognized by Windows 11, it will show up in the Device Manager. In that case, updating the integrated camera driver directly from within Windows 11 is also possible.
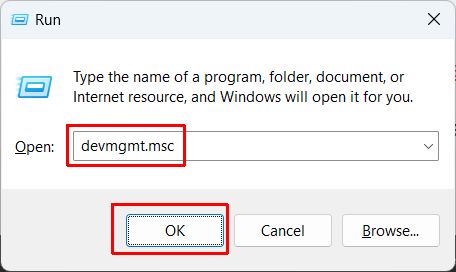
- Press the Windows + R keys and type “devmgmt.msc” in the Run box. Press Enter to confirm, or click OK. This will start the Device Manager.
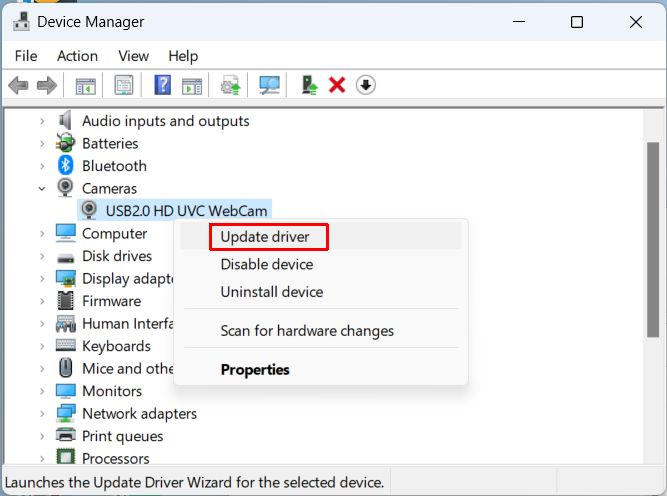
- In the Device Manager, expand the category Cameras or Imaging devices.
- Right-click the webcam device that is present, and then select Update driver in the popup menu.
- Next, click the option Search automatically for drivers to let Windows 11 use the Microsoft update catalog for finding and updating the Lenovo camera driver.
- Click the Close button and then close the Device Manager window.
If no new version of the integrated camera driver is found, Windows 11 will show a message stating that “The best drivers for your device are already installed”. Windows 11 depends on manufacturers providing the latest drivers for their devices to Microsoft for inclusion in the Update Catalog. Depending on the age of your laptop and support for Windows 11 for it, this method may or may not find an updated driver.
Using a Driver Update Program
As mentioned earlier in this article, Lenovo and other laptop manufacturers use third-party components for their integrated webcams. A common component these days is the Realtek webcam device, but other webcam components are also used. Sonix, Sunplus, and Ricoh are other common choices.
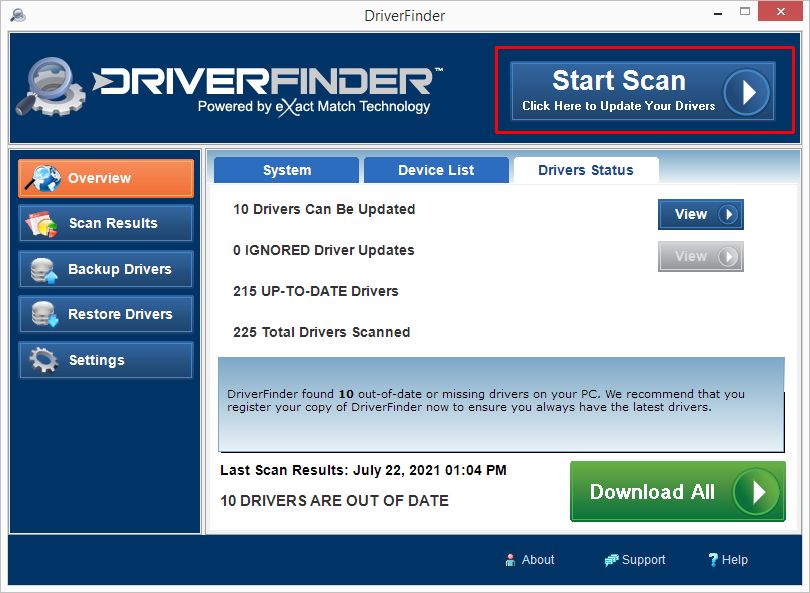
This means that if no camera driver for Windows 11 is available from Lenovo for your integrated camera, another manufacturer may have a driver available for Windows 11. The easiest way to find the right driver, in that case, is to use our driver finder program. The software will automatically scan for all devices on your computer, including webcams, and find any suitable driver for your device matching your Windows version.
If your Lenovo webcam is still not working, maybe this guide to solving webcam problems is of help.

