

The Bluetooth interface is used on Windows 11 (and Windows 10) systems to connect Bluetooth devices. Mobile phones, speakers, printers, or even another computer. Bluetooth wireless communication is ideal for short-range wireless communication. And like all hardware devices in Windows, the Bluetooth device needs a Bluetooth driver to function. The most common Bluetooth chips used in PCs are from Intel and Realtek.
If no driver is installed, Windows will not recognize the device, or Bluetooth will not function properly. So, if Bluetooth is not working in Windows 11, you might need to update the Bluetooth driver. In this article, we’ll show you how to update the Realtek Bluetooth driver. Of course, we also have instructions on updating the Intel Bluetooth driver.
Note: These instructions apply to both Windows 10 and Windows 11. It is important to update the Realtek Bluetooth driver on Windows 10 already, since the upgrade to a later Windows version can be blocked because of an old driver!

Updated Bluetooth drivers can solve this type of problem. Updated drivers will also make sure that any known bugs in previous versions are fixed, and performance and connectivity are maximized.
Automatically Update Drivers
Windows 10 and Windows 11 include support for a lot of devices by default. Drivers for the devices are either included in the Windows installation or retrieved during the Windows Update process.
If the Realtek Bluetooth driver needs to be updated, the first step is to run Windows Update. Also make sure that drivers updates are included in Windows Update, as automatic driver updates can be disabled in Windows!
Apart from Windows Update, a driver can also be updated from the Device Manager in Windows 11 directly.
- Press the Windows + R keys to bring up the run dialog box.
- Type
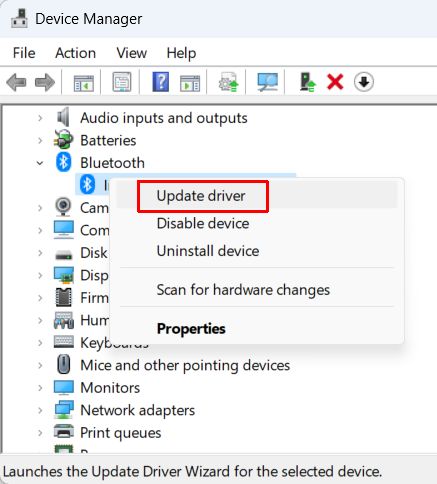
devmgmt.mscin the Run field and press Enter or click the OK button. - In the Device Manager window, locate the device for which to update the driver. Right-click the device, and in the context menu select Update driver.
- Next select the option to let Windows Search automatically for drivers.
- Click the Close button when done.

For more details, also see installing driver updates using the Device Manager in Windows 11.
Another method to automatically update Windows drivers is to use the DriverFinder program. This software automatically scans all hardware devices in your PC and then recommends the appropriate device drivers for them. It will not just update the Realtek Bluetooth drivers, but allow you to update all your device drivers.
Manually Update the Realtek Bluetooth Driver
Manually updating drivers in Windows means downloading the driver installation files and running an installer or updating the driver from the Device Manager.
Driver files for Bluetooth devices can be available on the PC manufacturer’s website or the Realtek website. First, visit the support site of your PC manufacturer and check for updated drivers of your model. If they are not available, or still not the latest version, you can visit the Realtek website.
Realtek offers support for most of its devices online. This support includes the option to download Windows drivers for many of their devices.
Using the Realtek Support site
- Open a web browser and navigate to the Realtek software download page.
- On the Realtek web page, use the Product Line dropdown box to select Wireless Lan ICs.
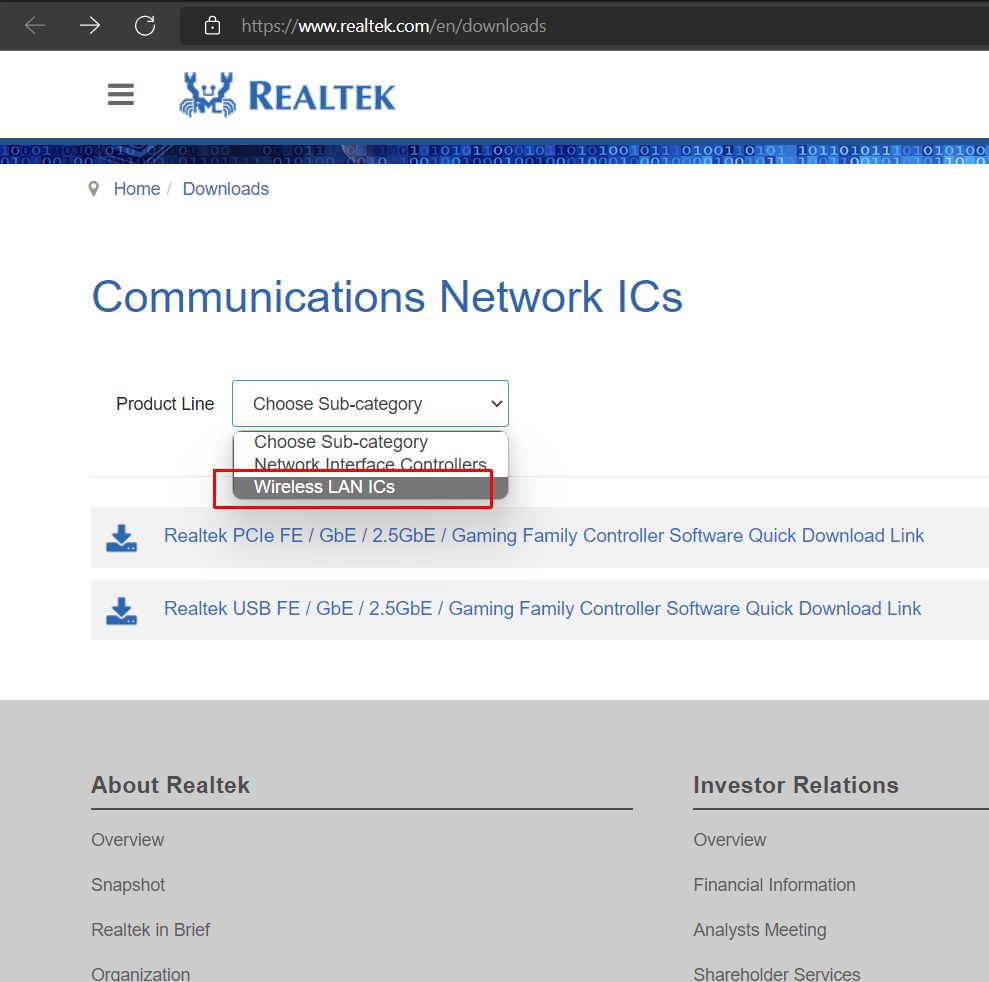
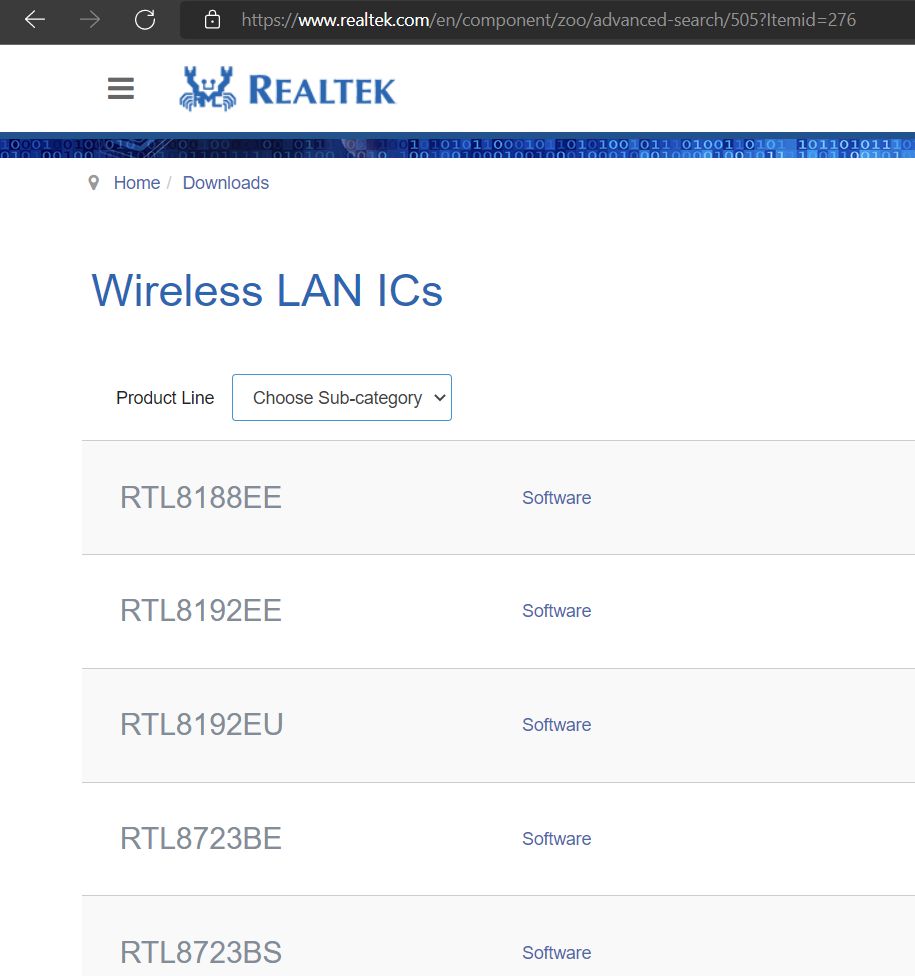
Note: Bluetooth is a wireless technology, so support is combined with Wi-Fi devices. - Now select the Realtek Wireless LAN IC from the list on the web page that matches the device in your PC. Click the Software link next to it.
- On the specific Realtek LAN IC software page, locate the Bluetooth driver you need and click the download icon.
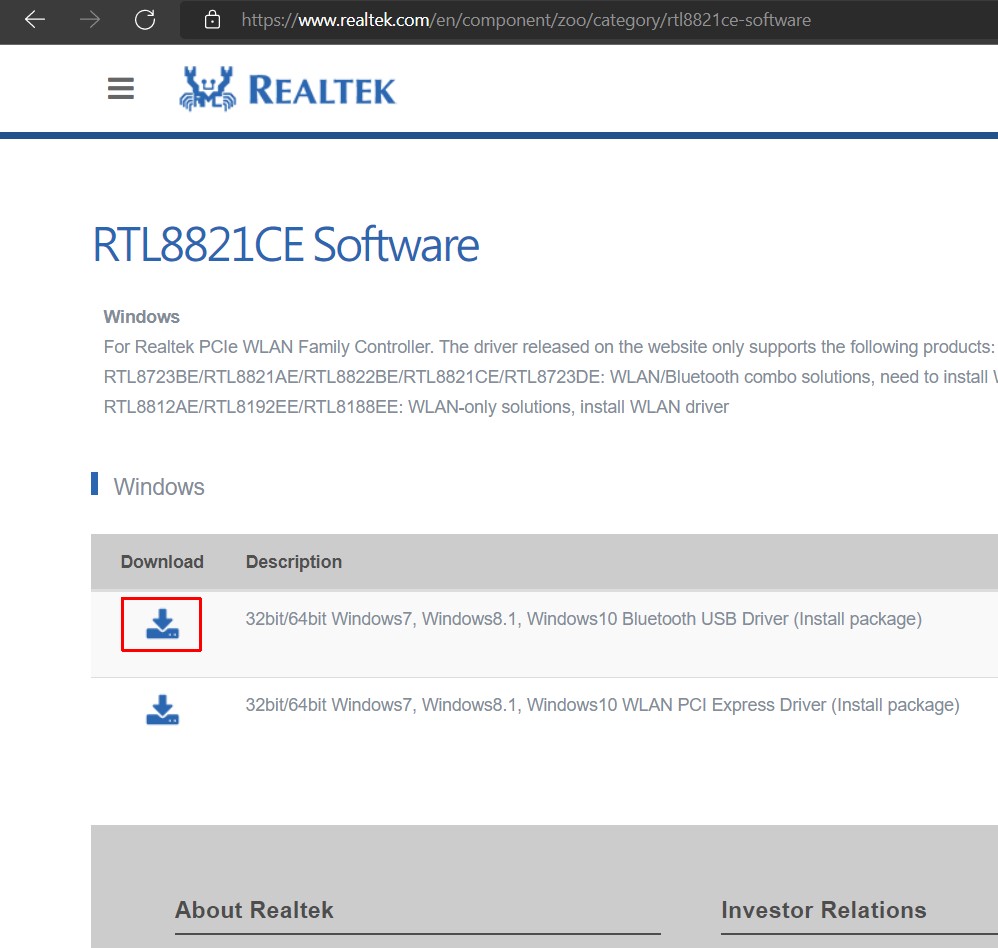
Note: Most onboard Bluetooth solutions use a PCI Express implementation. External, pluggable solutions will use the USB option. - On the Agree the Terms and Download page, select the checkbox I accept the above and then click the Download this file button.
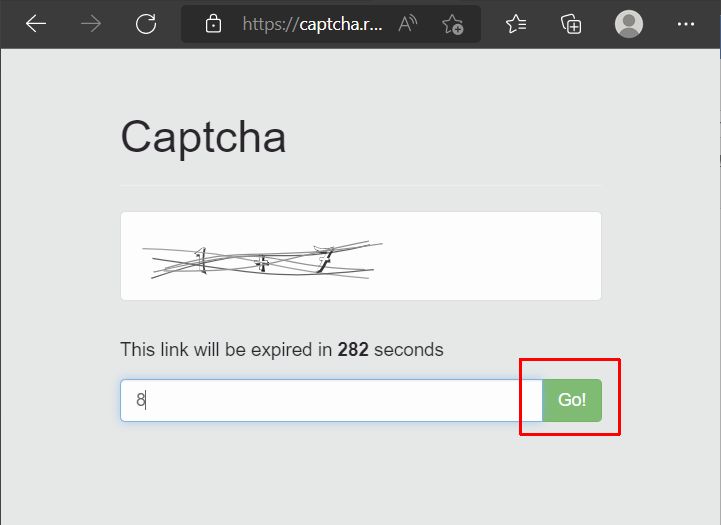
- Finally, enter the Captcha and click the Go button.
- Wait for the file to be downloaded and if required, select the location on disk to save the file. (This will depend on the browser being used.)
- Open a File Explorer and browse to the downloaded file. If the downloaded file is executable (EXE file extension), simply double-click the file to execute the driver installation and follow the on-screen instructions.
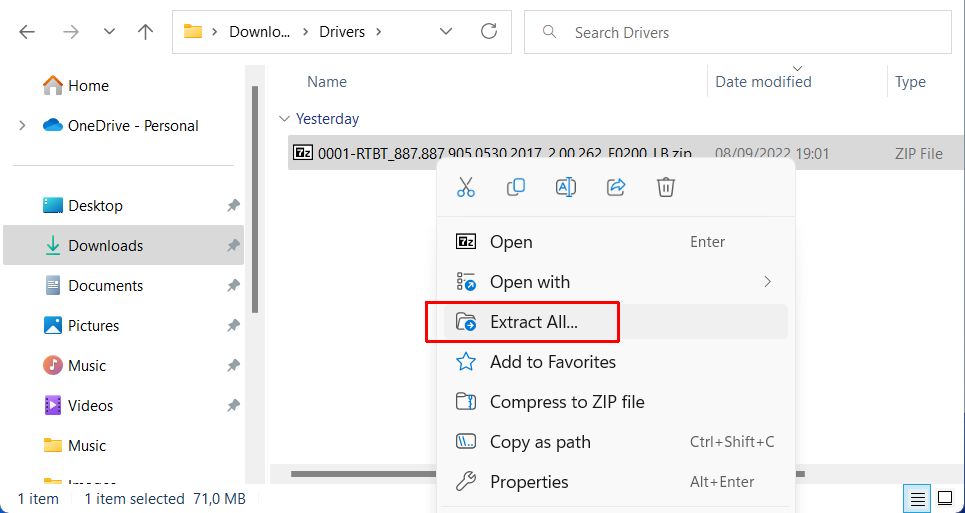
- If the downloaded file is an archive (ZIP file extension), right-click the file and select Extract All in the context menu.
- Select the location where to extract the files, and then click the Extract button.
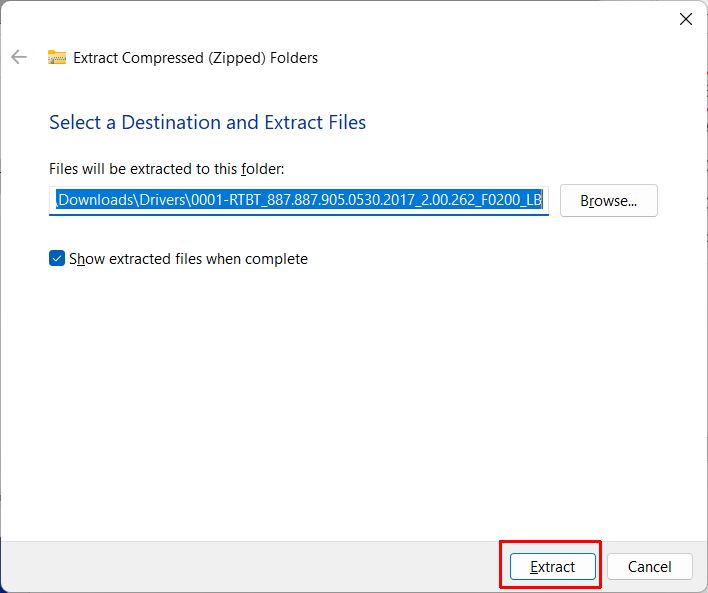
Note: The default suggestion is okay in general, as it is a subfolder of the file’s current location. - Double-click the subfolder in the opened File Explorer
- Now locate the
setup.exefile in the subfolder and double-click it to execute the driver installation process. Follow the instructions on screen.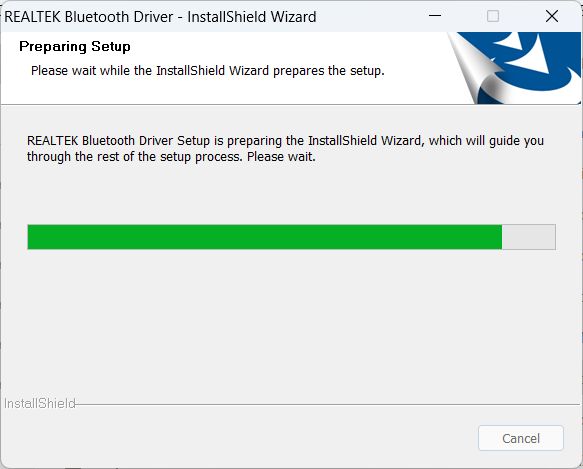


With the above instructions, you can download and install updated Realtek Bluetooth drivers for Windows. This should solve any issues you have with Realtek Bluetooth not working in Windows 11.


