How to Uninstall DriverFinder
It's easy to uninstall DriverFinder. You can effortlessly do so via any of the straight-forward options below.
Option 1: Use the Windows® Program Manager.
1. From the Windows® Start menu, click on the DriverFinder folder.
2. Click the Uninstall option in the menu.
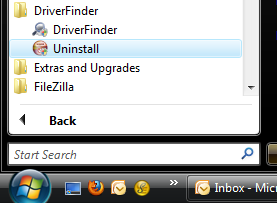
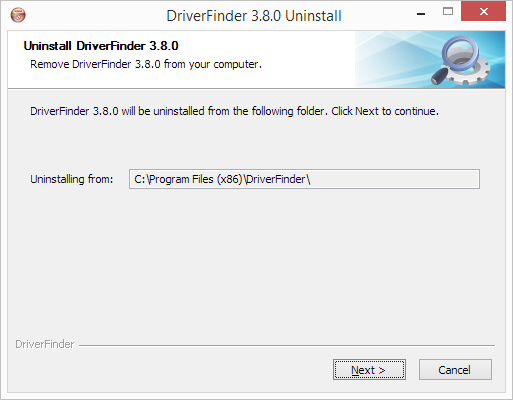
3. In the DriverFinder Uninstall window that opens, click the Next button.
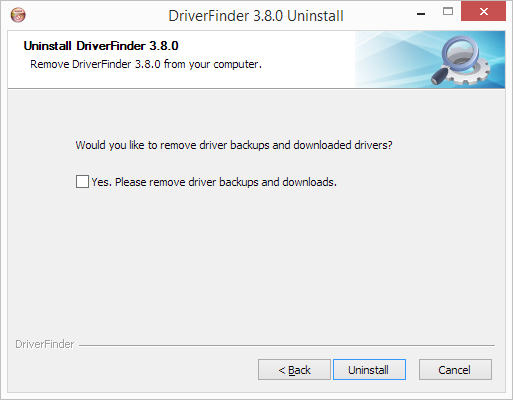
4. In the next screen select if you want to remove downloaded drivers and backups, and then click the "Uninstall" button.
5. Now just wait for the uninstall process to complete and click the "Close" button.
DriverFinder is now removed from your computer.
Option 2: Use the Windows® Add/Remove Programs Feature.
For XP Users:
1. From the Windows® Start menu, click on Control Panel.
2. Click Add or Remove Programs.
3. Select DriverFinder on the program list shown.
4. Click Remove .
DriverFinder is now removed from your computer.
For Vista/Windows 7 Users:
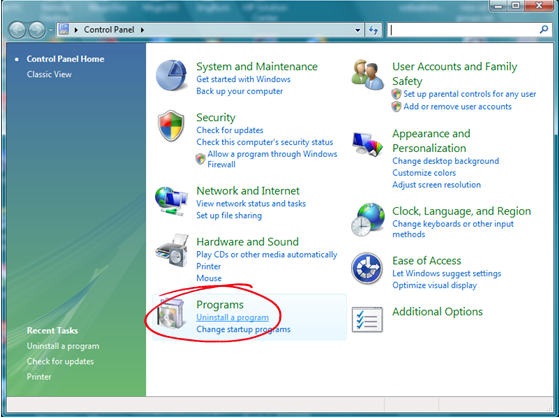
1. From the Windows® Start menu, click on Control Panel.
2. Under Programs, click Uninstall a program.
3. Select DriverFinder on the program list shown.
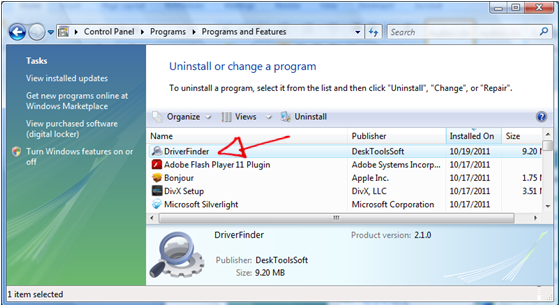
4. Click Uninstall .
DriverFinder is now removed from your computer.
For Windows 8/8.1/10 Users:
1. Use the Windows Search option to find and open the Control Panel.
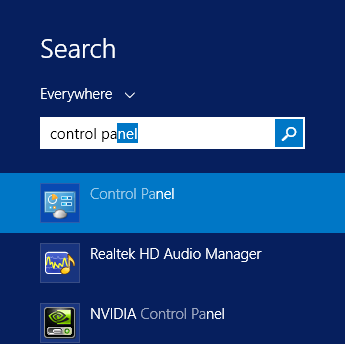
2. In the Control Panel, select Uninstall a program.
3. Select DriverFinder on the program list shown.
4. Click Uninstall .
DriverFinder is now removed from your computer.
